Oh my goodness. These are amazing. Quick warning, you should probably make a double batch of these because they are not going to be around for long. I mean, cheese and bacon, what’s not to love? Nothing obviously.
Whether you are having friends over to watch football or hosting a fancy dinner party, these little bites are sure to be a hit. I highly recommend letting these get nice and brown and crispy (soggy bacon is just nasty). I served mine with Dijon mustard just to add a little extra something. Totally not necessary, but definitely a tasty addition. I’m a saucy person, so I like having dipping sauces on the side of just about everything. I think a smokey barbecue sauce would also be really tasty.
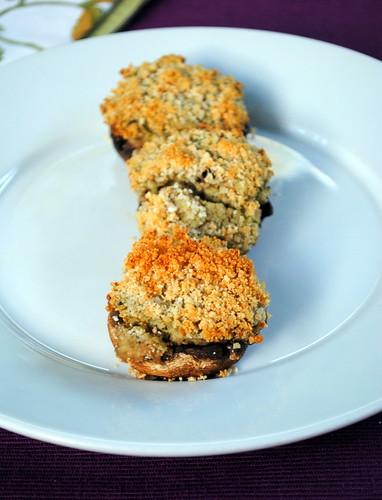
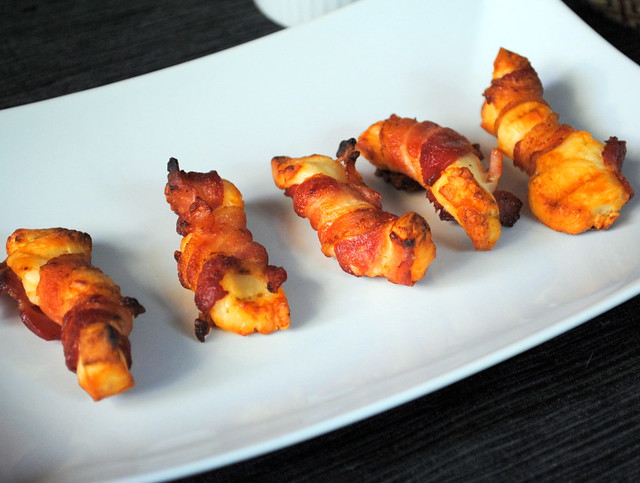
Halloumi & Bacon Rolls
- 1 block halloumi
- 10 rashers of center cut bacon
- Heat oven to 400. Line a baking sheet with tinfoil and place a baking rack on top of the tinfoil.
- Cut the halloumi into 20 sticks. stretch each rasher of bacon with the back of a knife, then cut in half.
- Roll the bacon around the halloumi in a spiral and arrange on the baking rack. Bake for 15-20 mins or until the pancetta is brown and crispy.