This salad is sweet, tangy and delicious. I originally read a similar recipe in a magazine while sitting in the waiting room at my dentist’s office. I was intrigued because I love love pineapple, but it had cucumber in it, which I absolutely abhor! Cumber is one of the four foods in the world that turn me into a picky eater toddler throwing a tantrum at the dinner table. I will not eat them. I do not like them touching my food and I will sit and pout if they are near my plate (bananas, celery and eggplant would be the others). I have been using a lot of jicama this summer and thought that it would make a great substitute for cucumber. It has the same kind of crunchy texture.
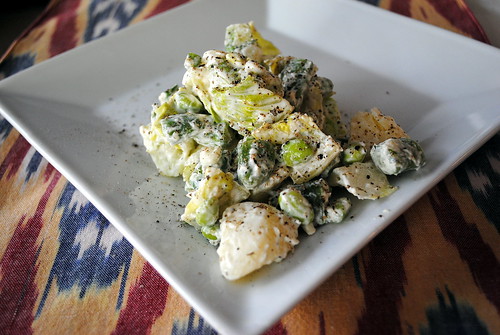
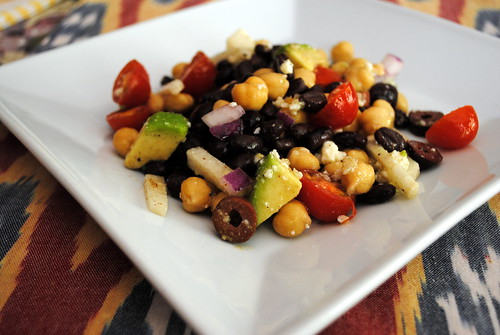
I served this salad with a side of chips for a super chunky chips and salsa kind of thing. You could also serve it over a bed of mixed greens or it would also go great with some grilled shrimp or tequila lime chicken as well.
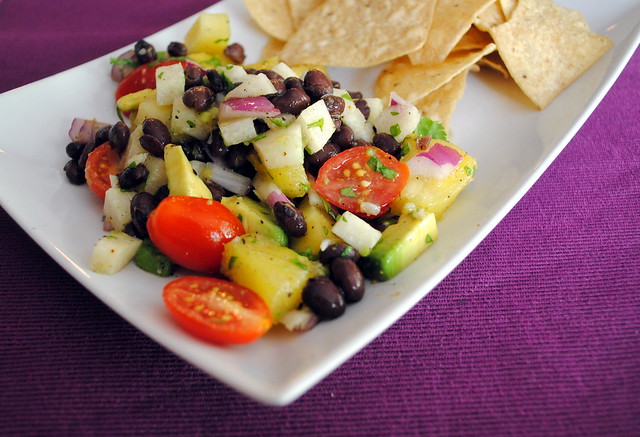
Pineapple Jicama Salad with Cilantro Vinaigrette
Ingredients
- 2 Tablespoons fresh lime juice
- 2 Tablespoons rice vinegar
- 1 bunch fresh cilantro, minced
- 1/2 teaspoon salt
- 1/4 teaspoon ground black pepper
- 1/4 teaspoon ground cayenne pepper
- 2-4 Tablespoons olive oil (I used 3)
For the salad:
- 1/2 fresh pineapple, peeled, cored, and cut into chunks
- 1 small jicama, peeled and diced into cubes
- 1 small red onion, finely diced
- 1 (15-ounce) can black beans, drained and rinsed
- 1 cup cherry tomatoes, halved
- 1 avocado, pitted and diced
Instructions
- Combine all the ingredients in a bowl and whisk together until well blended. Set aside. (Vinaigrette can be made ahead of time and will keep in the fridge for about 1 week.)
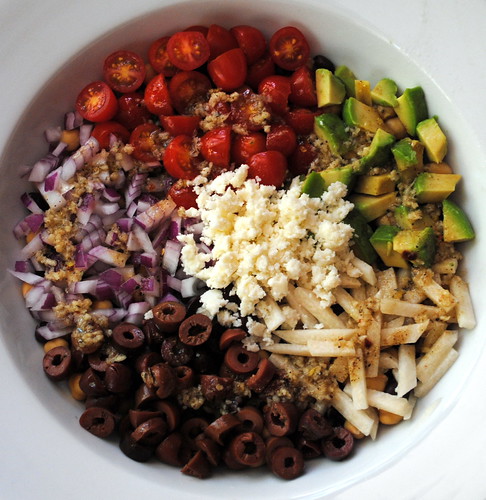
- Combine all ingredients, except the avocado, in a bowl and mix together. Add desired amount of vinaigrette and toss to coat. Salad can now be kept in fridge for up to 4 hours or served immediately.
- Right before serving add avocado and gently toss to to coat avocado with dressing, but be sure not to mush it too much.