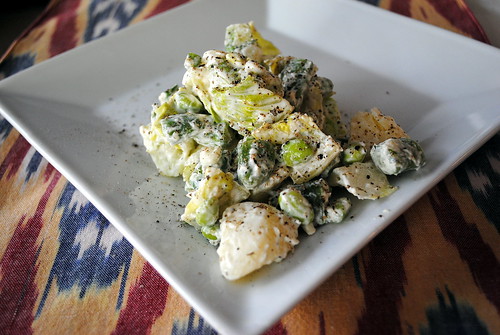
So, this is my recreation of a salad I’ve never eaten, from a restaurant I have never been to, but have talked about going to a lot. Blue Barn is a deli in San Francisco that has a creative menu with a local and organic focus. I think every time I have gone to visit my friends in San Francisco we have discussed going there and even attempted to go twice, but every single time something thwarts our plans. Since so many attempts have been made to get to this restaurant I have looked over their menu many times and every time this salad stood out to me.
![]()
After my last trip to San Francisco and another failed visit to the restaurant, I decided to attempt my own version. I have absolutely no idea how close or accurate an interpretation this is of the Blue Barn original, but damned if I can, it was absolutely delicious!
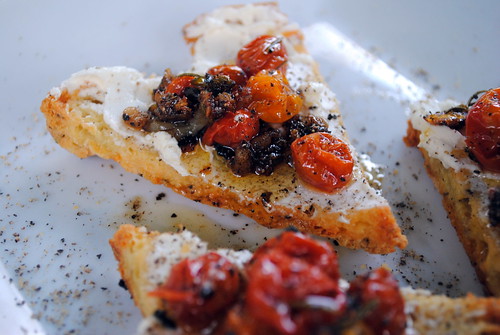
I did make a couple minor changes. Instead of sun-dried tomatoes, I used oven roasted roma tomatoes and instead of grilled balsamic onions, I again used oven roasted balsamic onions (I used this recipe, minus the sugar). For the crispy chickpeas, I made garlic and paprika roasted chickpeas (using this recipe). They were delicious and the leftovers made for a great snack later in the week.
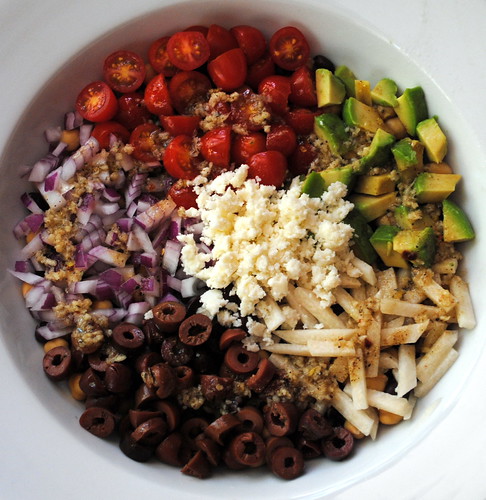
Now, I will admit, there are a lot of parts to this salad and most of them have to be prepared individually ahead of time, which is kind of a major pain, but since I knew I would like all the ingredients in the salad, I didn’t mind taking the extra time and effort to prepare everything. Plus, you’ll have a lot of leftovers of the individual ingredients, so they are perfect for other salads during the week, adding to other meals (the roasted tomatoes and balsamic onions were heavenly with a turkey burger), or as snacks.
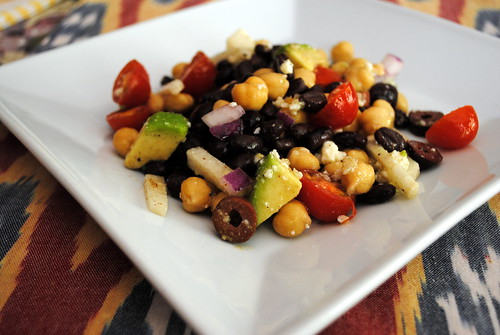
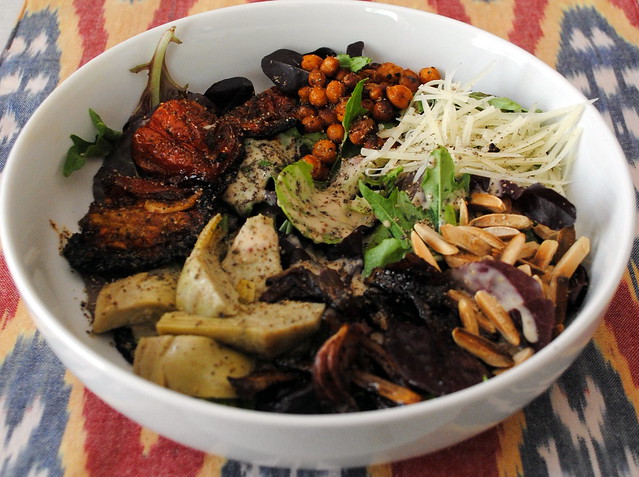
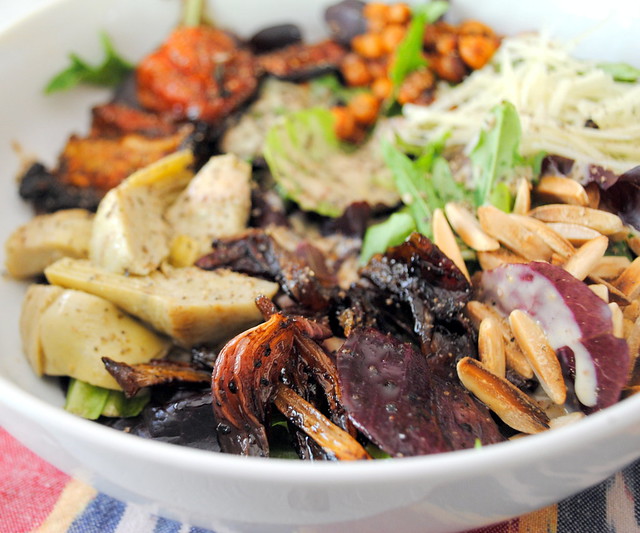
Blue Barn Arugula Salad
Ingredients
- 2 Tablespoons Dijon mustard
- 1 Tablespoon grainy dijon mustard
- 3 Tablespoons olive oil
- 2 cloves garlic, minced
- 1 lemon, juiced
- freshly ground pepper, to taste
- 1 large handful mixed greens
- 1 large handfuls arugula
- 1 ounce grated manchego
- 1/4 cup marinated artichoke hearts
- 2 Tablespoons slivered almonds, toasted
- 2 whole roasted roma tomatoes
- 1/3 cup roasted balsamic onions
- 1/3 cup roasted chickpeas
Instructions
- Whisk all the ingredients together in a small bowl and set aside.
- Prepare all the ingredients. Combine all ingredients in a large bowl. Drizzle with dressing. Add freshly ground pepper to taste and serve.